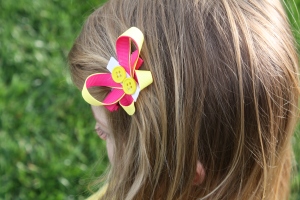
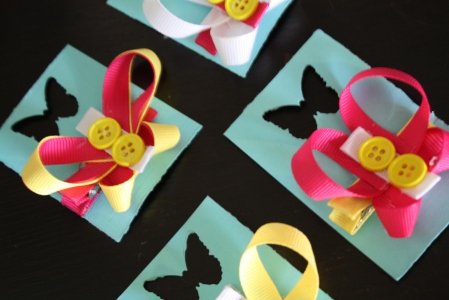
 Here's a quick how-to on making a butterfly hair clips using ribbons and a couple of buttons.
Ready??
OK, here's what you'll need...
 Ribbon
Coordinating buttons
Glue gun
Alligator hair clip (at least I think that's what it's called!)
Scissors, ruler, small scrap of grippy cabinet/shelf liner stuff
- Cut one length of 7" ribbon for the upper section, one length of 3 1/2 " ribbon for the lower half, and a 2" piece for the center section.
- Take one piece of ribbon and fold it in half, make a little crease just so that you know where the middle is. Next fold on end towards the center, making sure that the backside (of the end) of the ribbon is touching the front once the two meet. Glue the end of the ribbon to that middle crease.

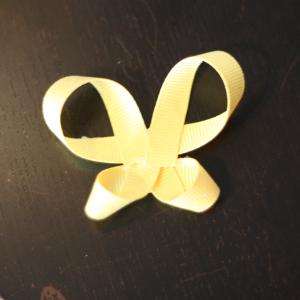
- Now repeat with the other end. Both sides should now be the same, and this will make the upper section of your butterfly.

- Now take the smaller piece and repeat step two and three. This will make your lower half. (somewhat blurry picture warning!)

- Place a small drop of glue on the middle of the lower section; place the upper section on top and press together however you like it. Hopefully you're starting to see a butterfly taking shape!

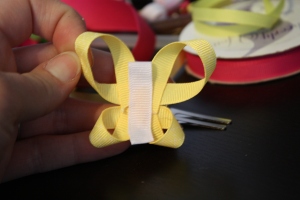
- Take your last little piece of ribbon, and fold each of the ends over just a bit and glue, that way you won't have any raw edges showing.

- Once you have the edges glued you can run a line of glue down the center of your butterfly and place the "body" on there.

- Add a couple of ribbons and glue it to your covered hair clip, you can glue it vertically or horizontally. Now you are finished!! (for info on covering a hair clip with ribbon see below.)

To cover the hair clip all you have to do is...cut a length of ribbon to about 4 1/2 inches, and run a line of glue down the top inside part of your hair clip and place your ribbon on the glue. Now cover the top part with glue and adhere the ribbon. Now flip it over and add on final dab of glue to the back and glue the end down. I also add a tiny strip of grippy shelf liner to the upper inner part to keep it from slipping out of my daughter's hair. I hope this makes sense!! Sorry I didn't take pictures of that part.


So pretty and so spring! Thanks so much for the how-to, I'll be linking.
ReplyDelete[...] This post was mentioned on Twitter by Antje Rienks. Antje Rienks said: Leuk!! http://sewhipmama.wordpress.com/2010/04/10/butterfly-hair-clips/ [...]
ReplyDelete[...] These butterfly clips from Sew Hip Mama would make darling party favors for a little girls spring or... [...]
ReplyDelete