Um...So yeah, I love headbands. I wear them all the time. When I find a particular size or style that I like, I tend to need more than one. Here is an easy solution to "I need something to go with this outfit because my hair is kinda scary today..." I happened to have had one of those days today. After deciding that I didn't want any of the ones that I currently have in my stash, it was time to make one...but out of what? How about that ribbon that I picked up because it was pretty and I could use it for... something.
It will probably take longer to decide on which ribbon you want to use than it will take to actually make this headband. So why not make a few and save yourself the extra time trying to narrow down that decision.
Here's what you're going to need...
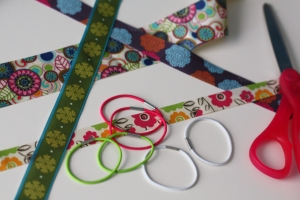
- Ribbon of your choice
- 2 elastic hairbands
- scissors and your sewing machine
Yep, that's all you need.
So grab your hairbands
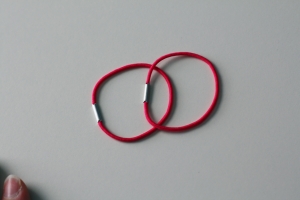 Overlap them
 Pull the part that's in the front through the one in the back and back to the front. Does that make sense?
 It should now look like this.
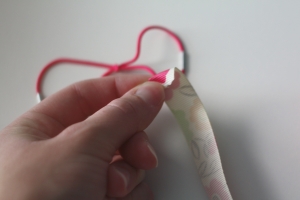 Fold the end of your ribbon over like a 1/4" or so. It doesn't have to be exact, this is simply to keep the raw edge from showing when you sew it.
 Take your folded edge an wrap it over the end of your hairband. (I covered the metal part of the hair band, I think most don't even have that metal part anymore!) Now your ready to sew.
 Sew close to your edge, making sure that you backstitch a few times to reinforce the seam. At this point you can take your ribbon and wrap it around your head to get an idea of how long you want it to be and cut it to the desired measurement. Repeat with the other side, making sure that your ribbon isn't twisted before you sew! (I cut my ribbon at 18", after sewing it and trying it on, I realized that it was too big, so I just folded it over a couple of times and sewed it again and it was perfect. )
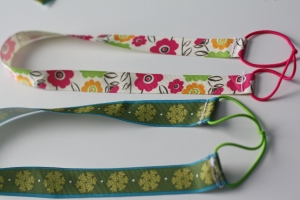 And that's it! Easy.
 Enjoy your new headbands. It's a great way to use extra ribbon you have laying around! I think that I may make a few more of these with a couple of strands of narrow ribbon together. The possibilities are endless, really.


