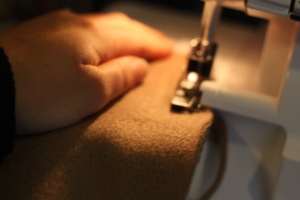
Ok, so...here it is, a few days later than promised! Sorry, sometimes it seems that finding an extra hour or two to post a new tutorial is impossible!
What you will need...

- Fleece
- ruler
- scissors or rotary cutter
- thread and a needle, sewing machine
For the flower
- 3" strip of 44"long fabric
- needle, thread, pins
 Measure the head of your recipient! For my 5 year old son, I cut a piece of fleece 22" by 12", and for my 3 year old daughter I cut a 20" by 10".
Bring the short sides together, sew from end to end.
 You should have a tube. Now sew along the top. There should only be one opening now, you can see the basic shape of a hat!
 Take the open edge and fold it up a 1/2-1", your choice. (Make sure that all of your seam are on the same side, so that when you flip the hat the right way, you don't throw it across the room when you realize that the cute hat you just finished has an unfinished seam exposed on the top of the hat... you will not enjoy fixing your mistake...I didn't...) Sew all the way around, I used two seems, just because I liked the way it looked.
 Now grab your needle and thread it, start on one end a sew a big gathering stitch all the way across the top. When you get to the end, pull it tight and gather the fabric. Knot the end a few times and you are done with the hat. Easy peasy.
Ok, for the flower. It's much like many of the other flowers on the blog, but this time instead of rolling them, I simply folded the fabric. I didn't take pictures for this step...Sorry, but it's really easy I promise!
- Take your strip of fabric and fold it in half, you can iron it if you want to make sure it really stays folded, I didn't, because I like the messy look.
- Begin by folding or just knotting the end so that you have a center, again, just depends on if you like the raw edge showing more.
- Once you have a knot in the center, begin to fold the fabric once and twist. Keep doing this until you reach the end of your fabric, fold the end under the last section. You can pin it as you go, if you want to make sure it doesn't fall apart when you start to sew it together, ahem...
- Sew from the back, make sure to sew through all layers. (This is just like the way you sew this and this.) Finish off the end with a good strong knot!
- Now you can pin this to the hat wherever you want it. Sew it on and you are finished! I made several of these flowers, attached them to various things, like a hair clip and then clipped it on to the side of a headband!


I need to go and get some fleece so I can copy this cute hat. Thanks :)
ReplyDeletePretty! I love cozy fleece hats in the morning. I'll be linking.
ReplyDeleteSuper awesome. I love how simple it is. Thanks!
ReplyDelete