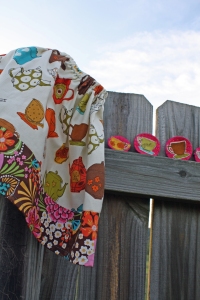
 Remember the easy skirts from this post? Well, today I am going to tell you how to make a really easy skirt! If you have small amounts of fabric that you want to use, that are just under half a yard or so, try this, you will be happy with the quick and easy results! You can make several of these in a short period of time.
Here's what you're going to need...

- Fabrics: 1 for the main part and one for the accent panel (if you want.)
- elastic 3/4 to 1 inch wide
- thread, scissors, ruler, safety pin
 To begin, measure your recipient and decide the length that you want the skirt to be. For my skirt, I want it to be approximately 14 inches long. I am going to make the lower quarter of my skirt with a different fabric, so I need to determine how long to make each piece of fabric. (You might want to make sure that you iron your fabric first, especially if you've had it folded for a while...probably should have done that before taking the picture!)
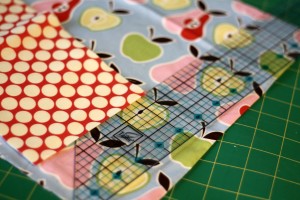 I will be using the entire 44" width by 5" for my accent and 44" by about 13" for the main panel.
 Once I have those pieces cut, I am going to begin sewing. I serged my two pieces together, sewing along the longest length, if you don't have a serger, just use your sewing machine. You can allot an extra 1/2-1 inch if you want to fold the seem over to cover the unfinished edge.
 Now you should have a one piece total. Take the short sides and pin right sides together, serge or sew from one end to the other. Back stitch on both ends. It should now look like a tube.
 Next get your iron and press fabric over a 1/4" on the top edge and the bottom edge, making sure that you press the right side over the wrong side.
 Now on the bottom edge, fold that pressed edge over again, another 1/2" and press again.
 On the top edge fold it over 1"-1 1/4" depending on the size of your elastic, press. This will make your elastic casing.
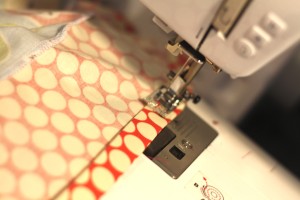 Now sew the bottom edge all the way around.
 Sew the top edge, leaving a 2" -3" opening for the elastic. Back stitch on both ends.
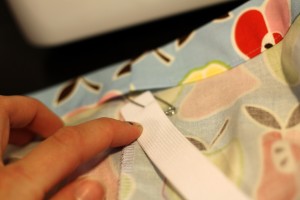 Attach your safety pin to one end of the elastic and feed it through the casing.
 When you get back to the beginning, sew the two ends of your elastic together by laying one on top of the other and using a zig zag stitch go over it a few times for extra strength. Now tuck it in to the casing and sew the opening closed.
 You are all finished. See how easy that was??
Now if you wanted to add a little more to this skirt, you could add a pocket or two onto the front. Make them round or square, your choice, either would make a cute addition.
I think a little ruffle as the accent panel would be cute too.
Enjoy! And please if you use one of the tutorials listed on this site, please give credit to the site. Thanks.
Don't forget to add yours to the Flickr pool.


